
The Windows 10 upgrade process drags old files, settings, and programs from your previous Windows system to your new one. Microsoft allows you to get an entirely fresh system by performing a clean install.
This is particularly useful if you’ve purchased a new Windows 10 PC and it includes manufacturer-installed bloatware you don’t want. Or, you may need to perform a clean install on a computer without an existing Windows system after installing a new hard drive or you just want to start over because your system is getting a bit slow.
Depemdemcies
For everything to work out you will need to make sure that you have the following requirements:
- USB-drive with atleast 8 GB of space
- Recomended to have Windows 10 Pro lizen
- …
If this is the case, we can carry on creating a bootable Windows installation drive.
Creat installation media
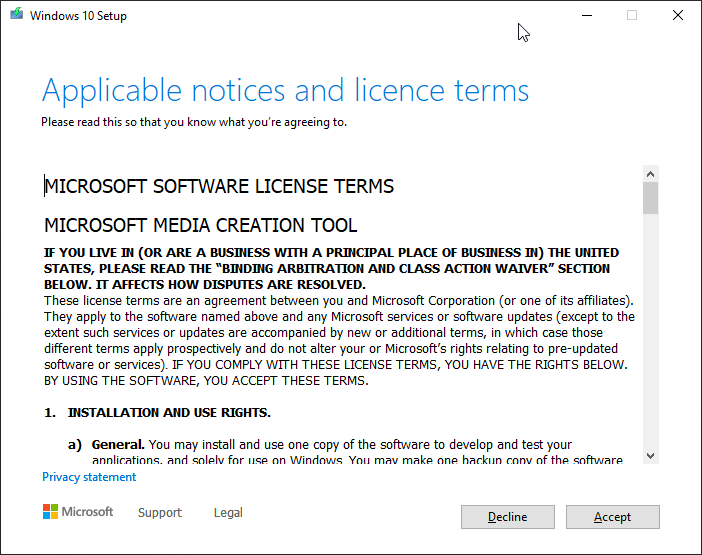
Download the Windows media creation tool from Microsoft. After completing the download run the MediaCreationToolXXXX.exe.
1. Click on Accept
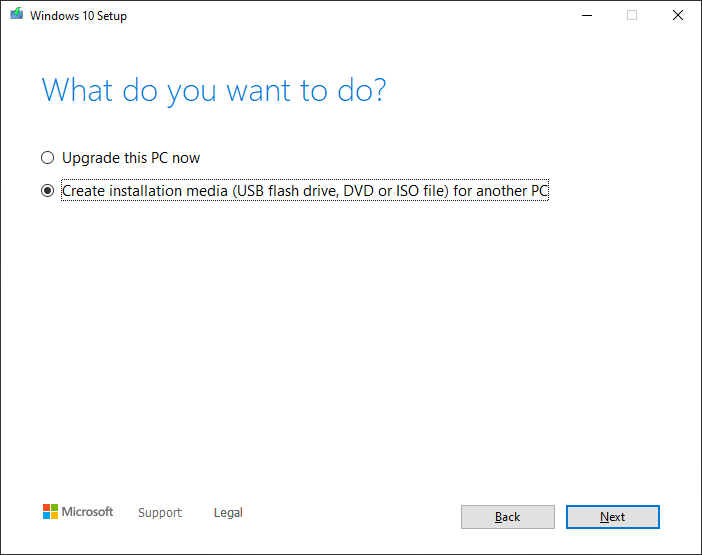
2. Select Create installation media (USB flash drive, DVD or ISO file) for another PC and the click on Next
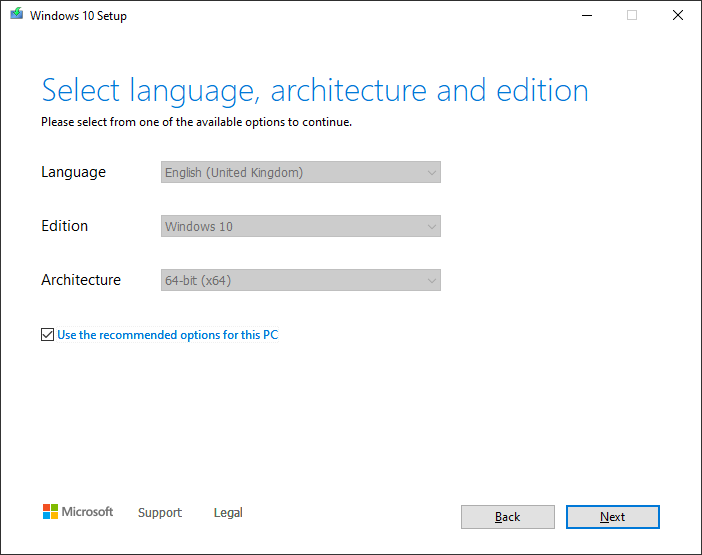
3. The tool will by default select the host language. If you want to change this just deselect the Use the recommended options for this PC and select your prefered Language from the dropdown. Afterwards you can click on Next
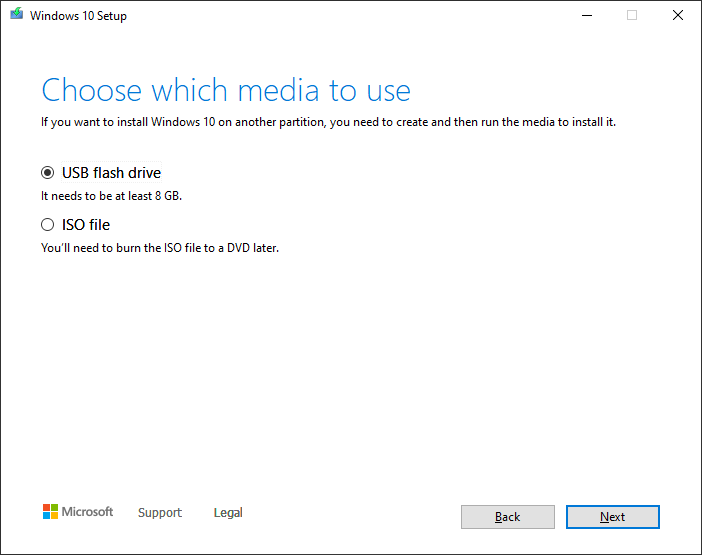
4. Leave the option USB flash drive selected and click on Next
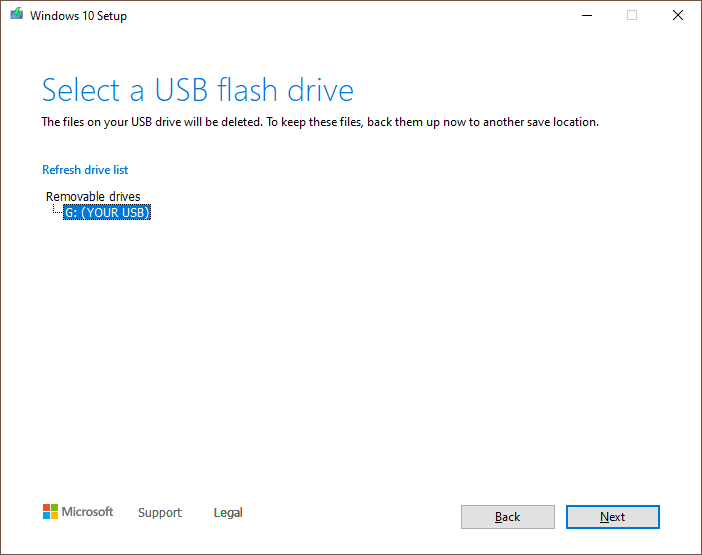
5. Select your USB flash drive, in my case it is the drive with the letter G and the name YOUR USB. Then click Next
If you are unsure on what the right usb drive is, remove all other USB drives and press on the
Refresh drive listtext. Only external USB drives will be shown in the list NO internal drives
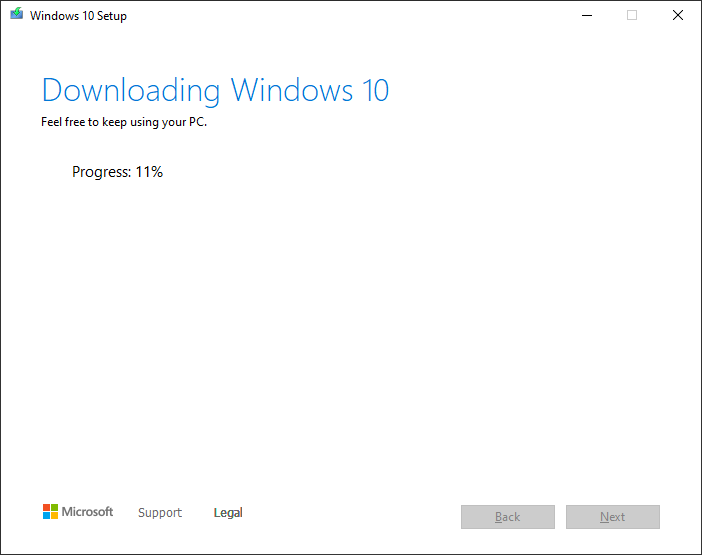
6. Now we need to wait. This make several minutes, depending on your internet connection and the speed of your computer
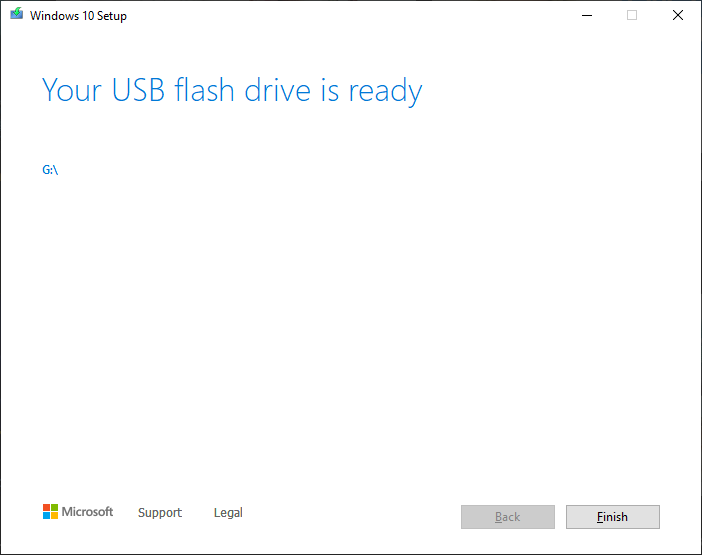
7. To finish up press the Finish button and then remove your USB drive
Installing Windows
To boot from your USB drive turn on your computer and enter the boot menu by spamming one of the following keys ESC, F1, F8 ,F9, F10, F11, F12 or Delete
If you are unsure on what the right button for the boot menu is, visit your motherboard vendors FAQ
1. Select the USB drive from the boot menu and press the Enter key
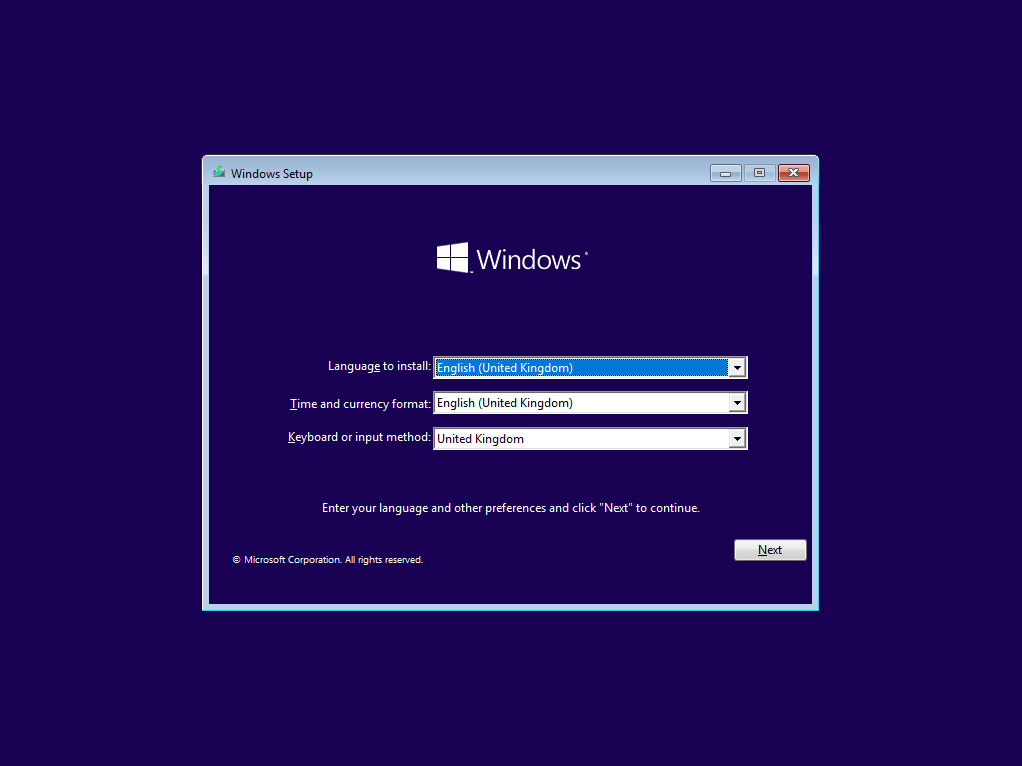
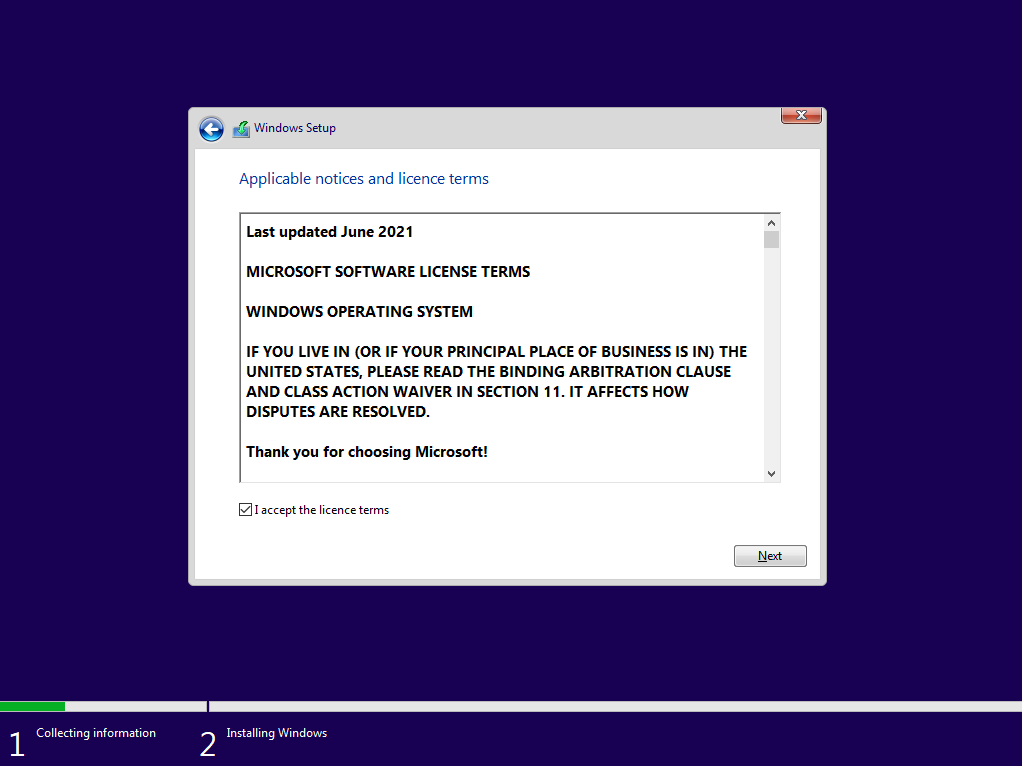
2. Click on Next to start
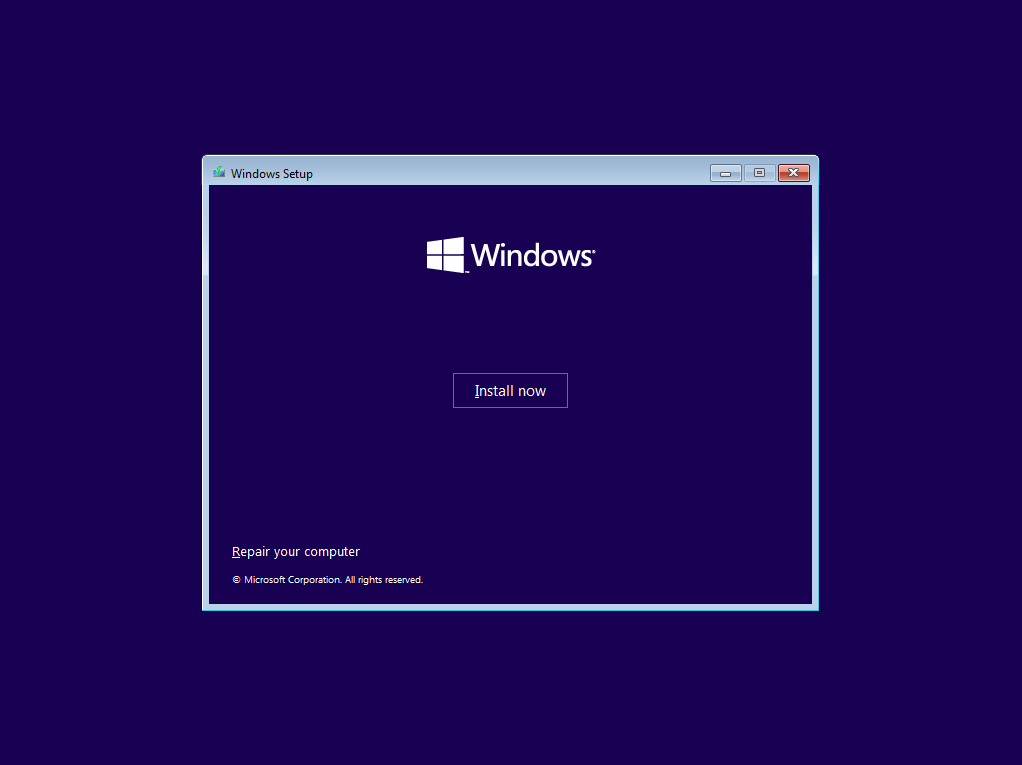
3. Click on Install now
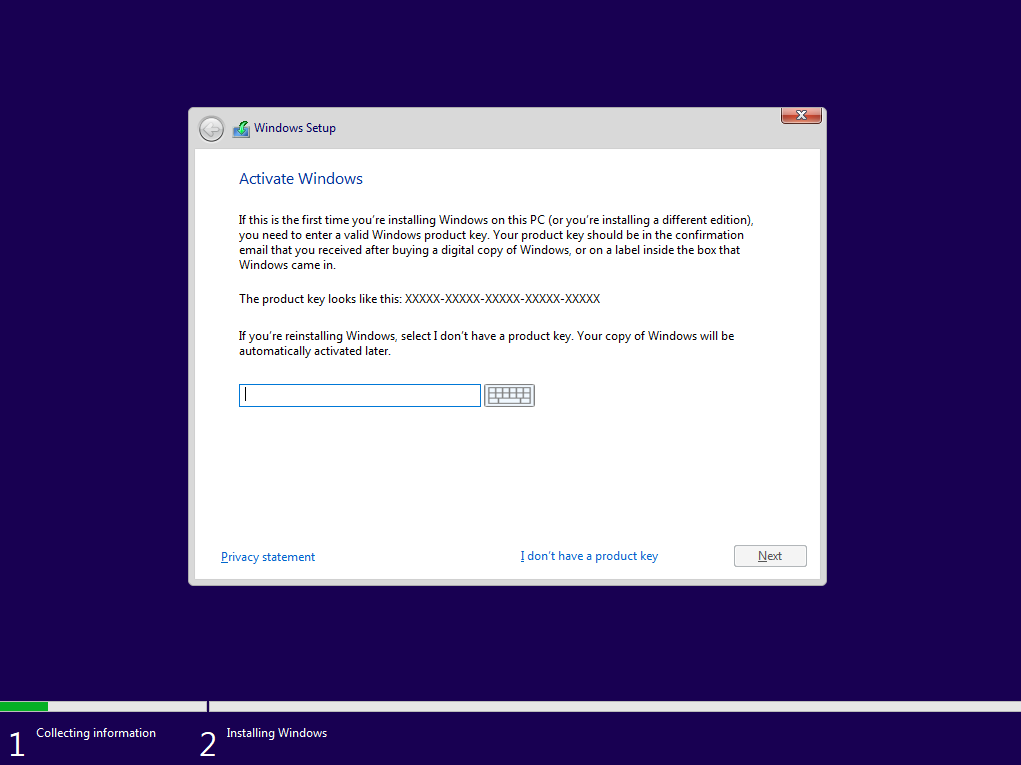
4. Enter your Windows lizenz key and click on Next. If you do not own a lizenz goto point 4.2
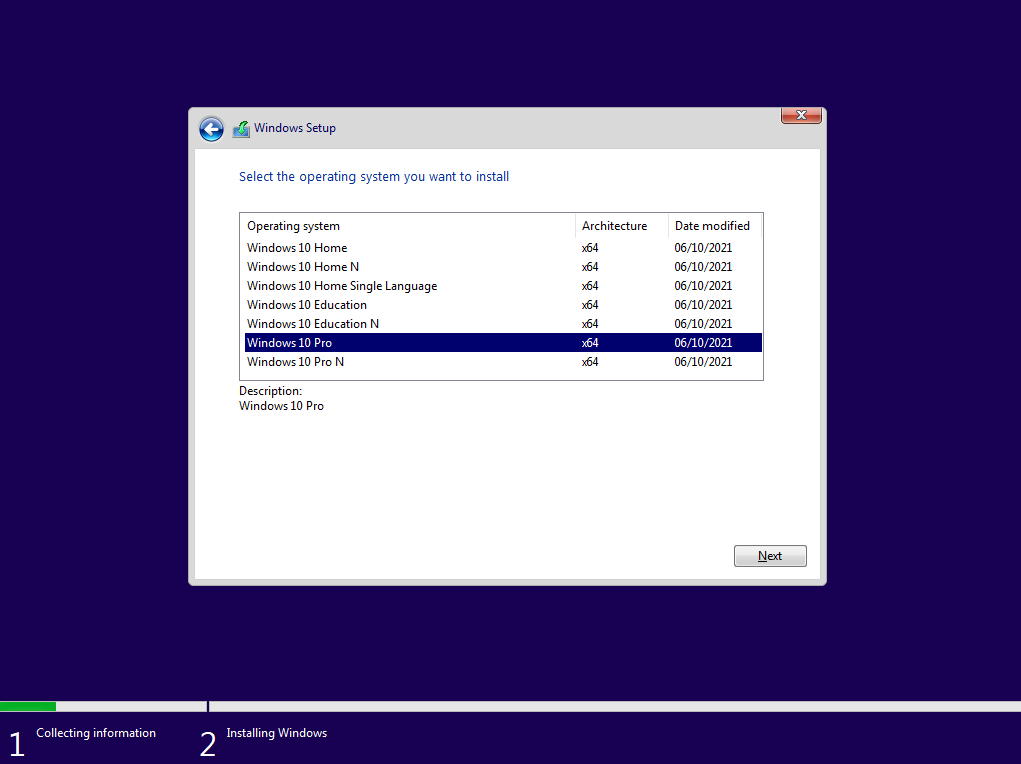
4.2 If you do not have a lizenz at this time just click on I don't have a product key and select Windows 10 Pro
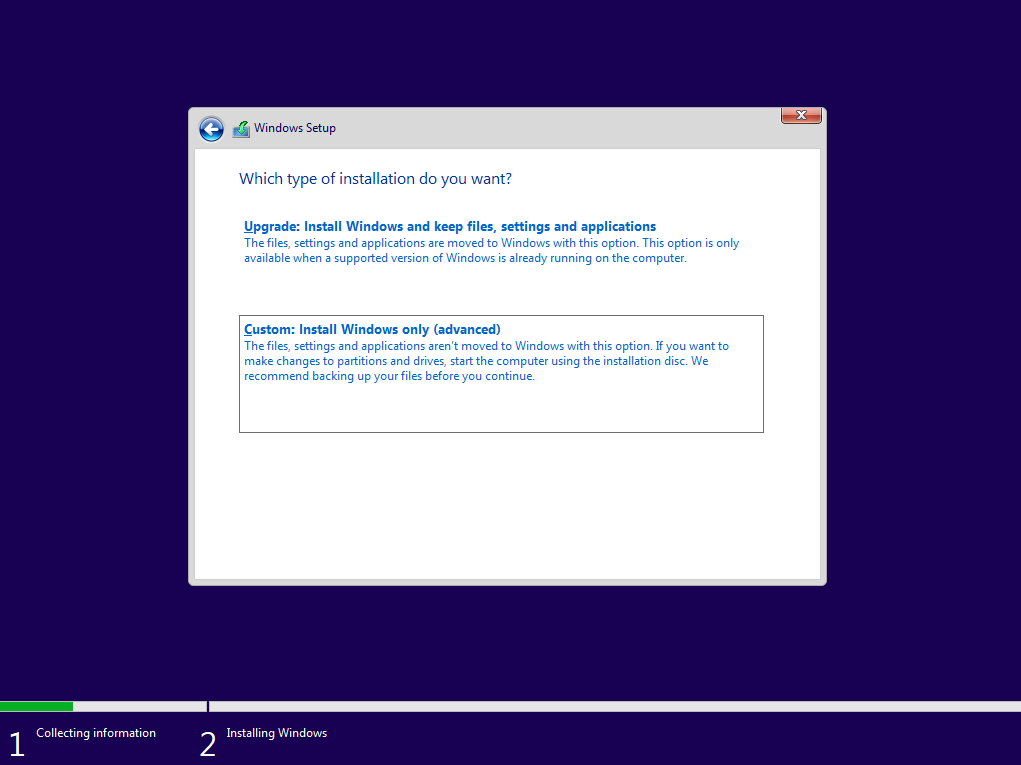
6. Select Custom: Install Windows only (advanced)
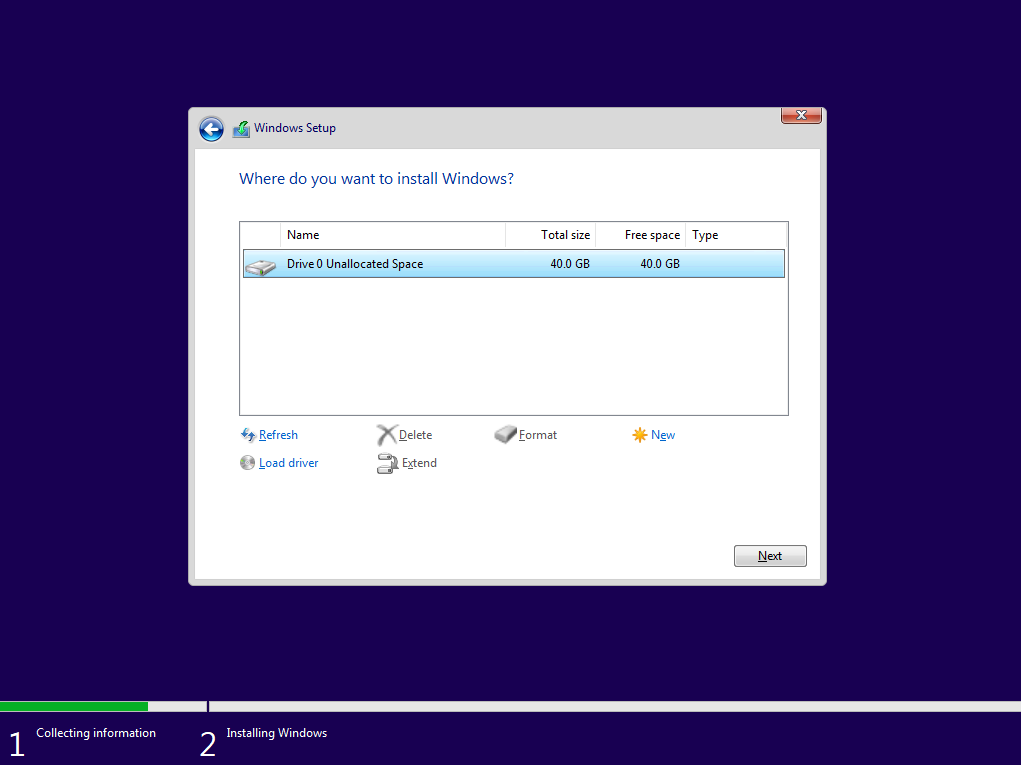
7. If you want to do a fresh install of an already setup system select and delete all partitions of the drive on which windows is installed (example Drive 2 Partion 3 and so on). If this is a fresh install for example on a new drive select that drive and click on Next
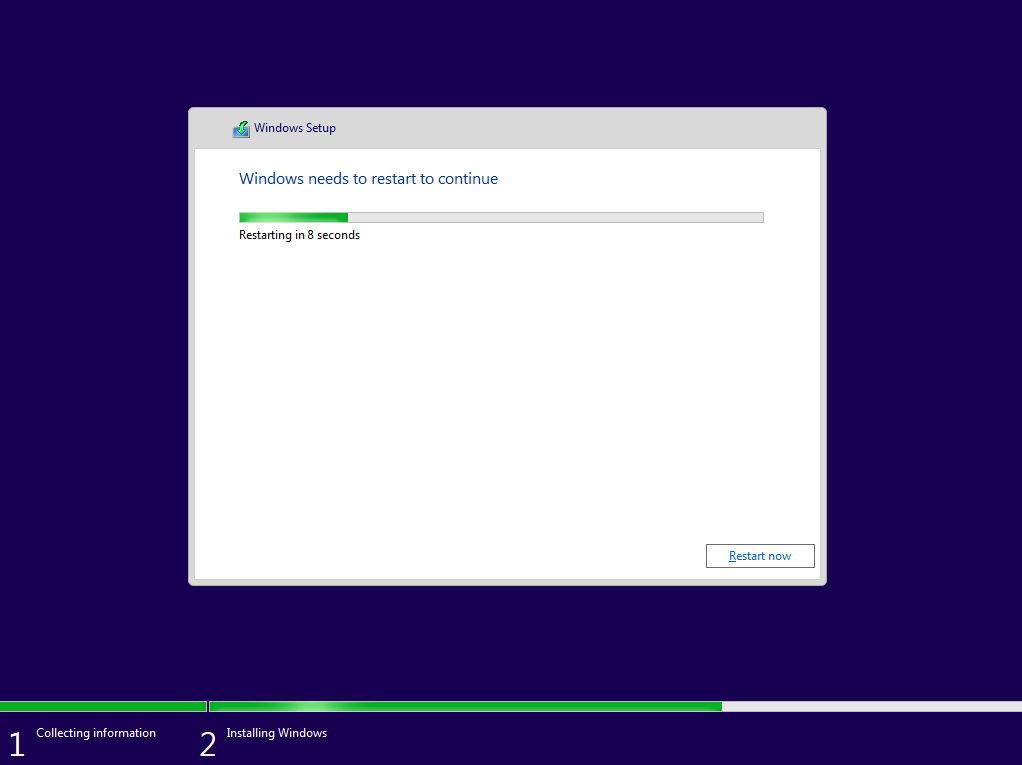
8. Let the install run. This may take a couple of minutes
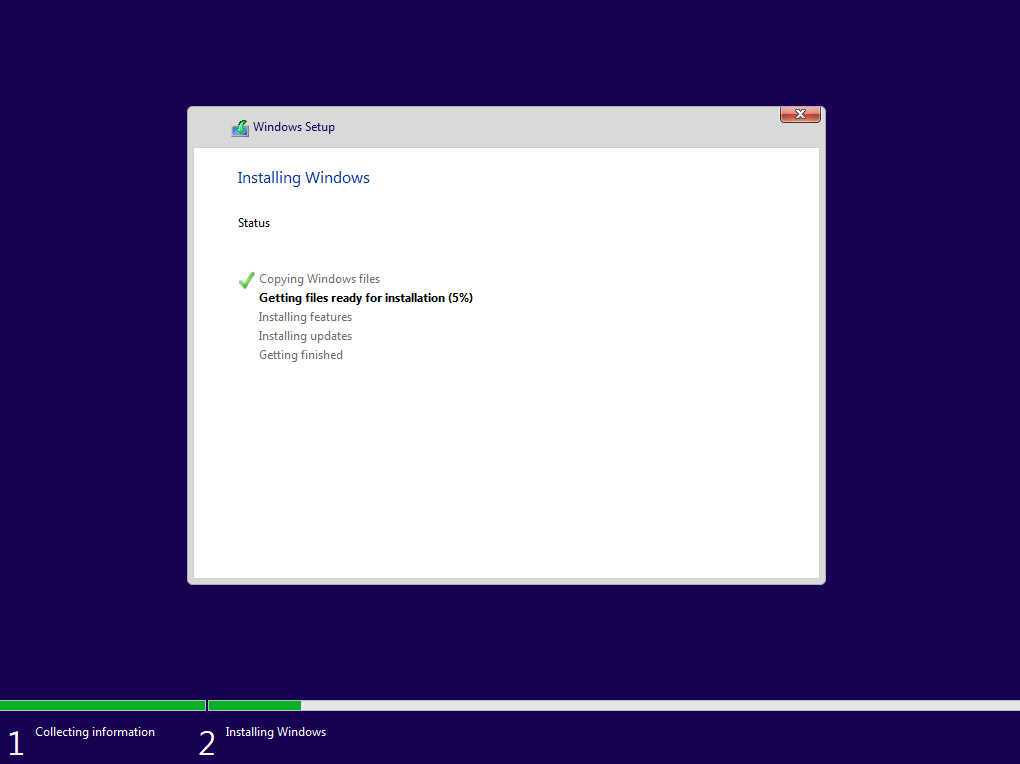
9. The system will automaticly reboot after 10 seconds
Setup of Windows
1. Select your region, then confirme it with Yes

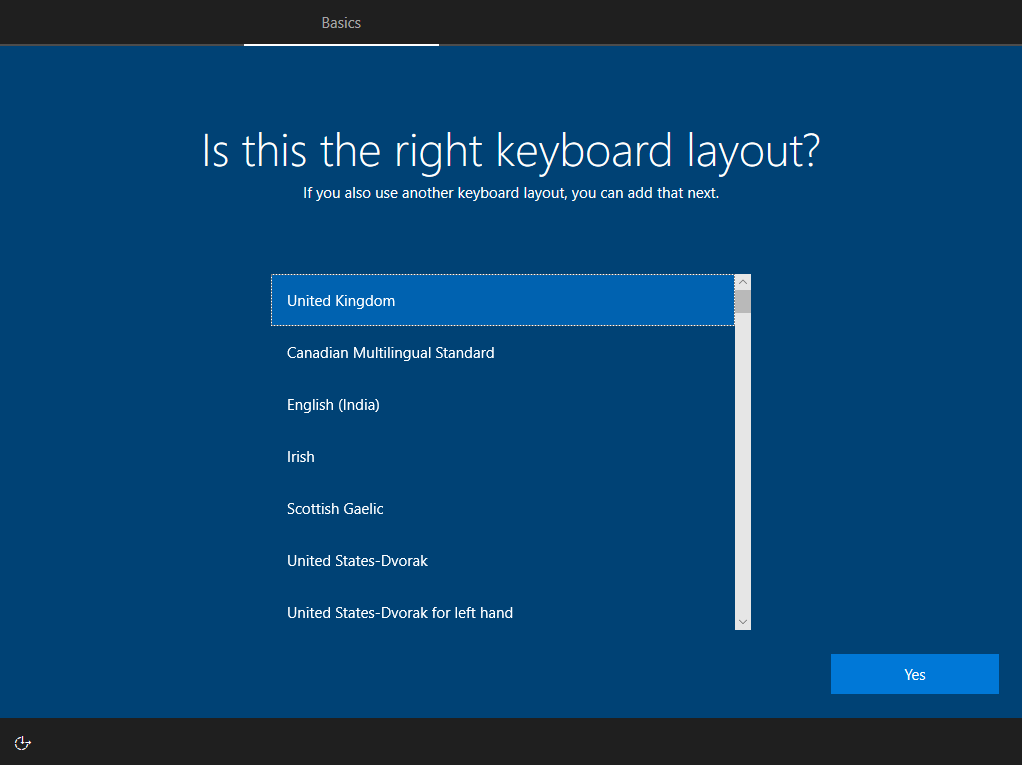
2. Select your keyboard, then confirme it with Yes
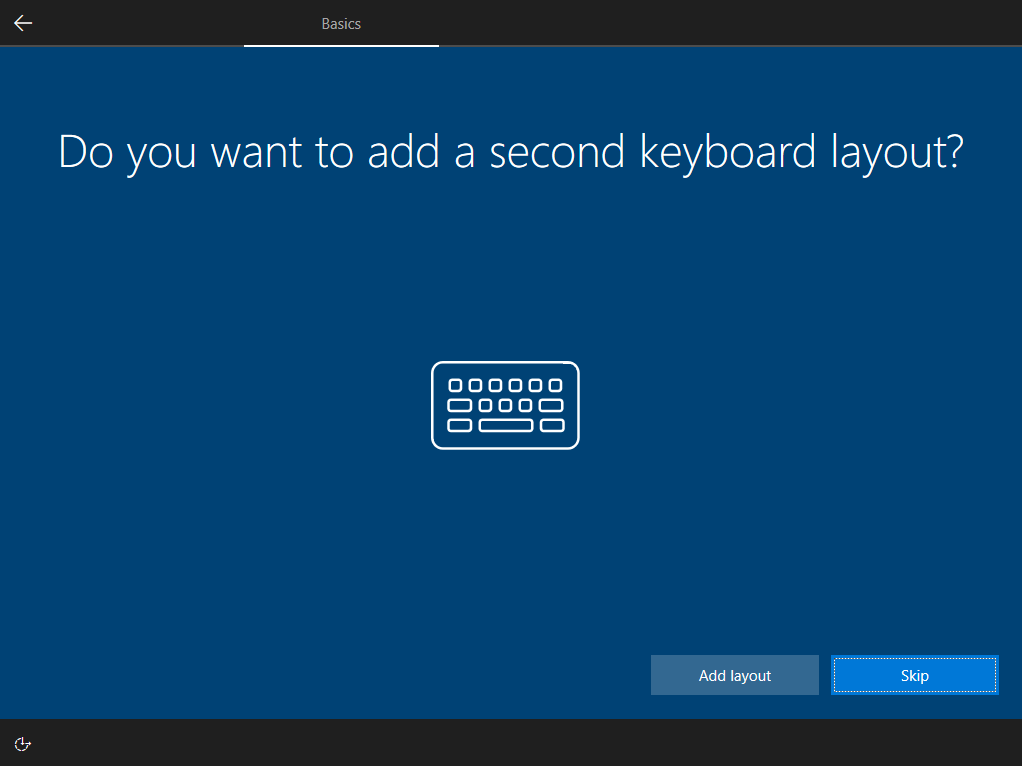
3. Click on Skip, even if you want other keyboard layouts. These can be added later
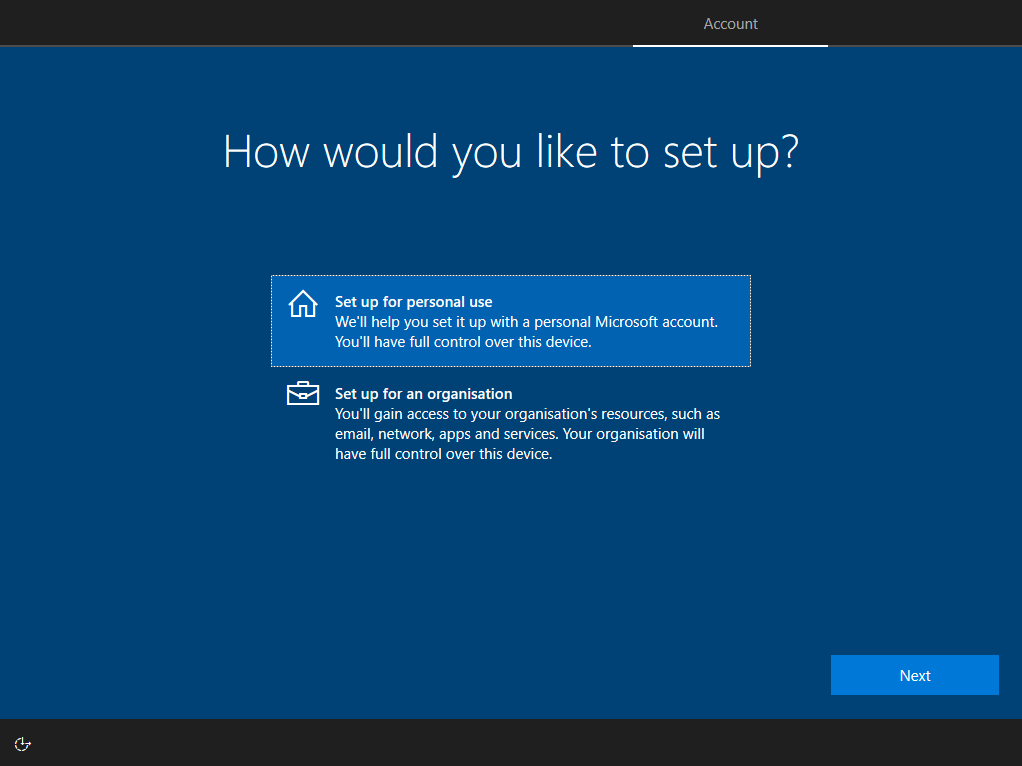
4. Select Set up for personal use
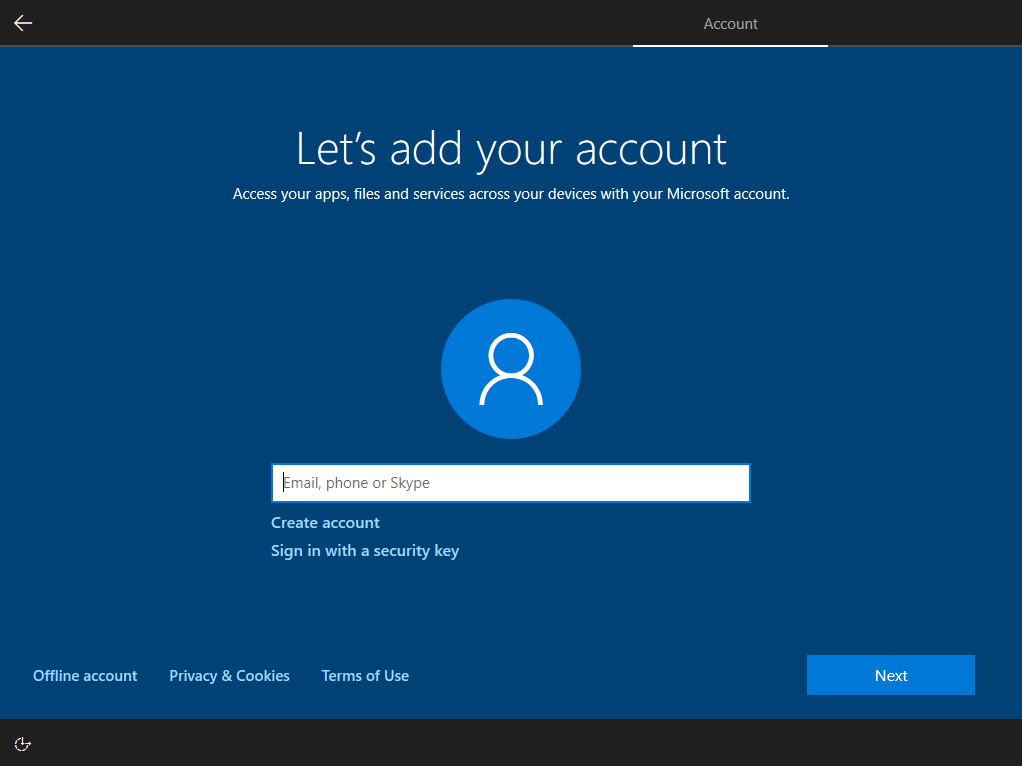
5. Do NOT use your Microsoft account. Use the Offline account button in the bottom left hand corner
If you do not see that text disconect your internet and retriger the page by returning one step or rebooting your system.
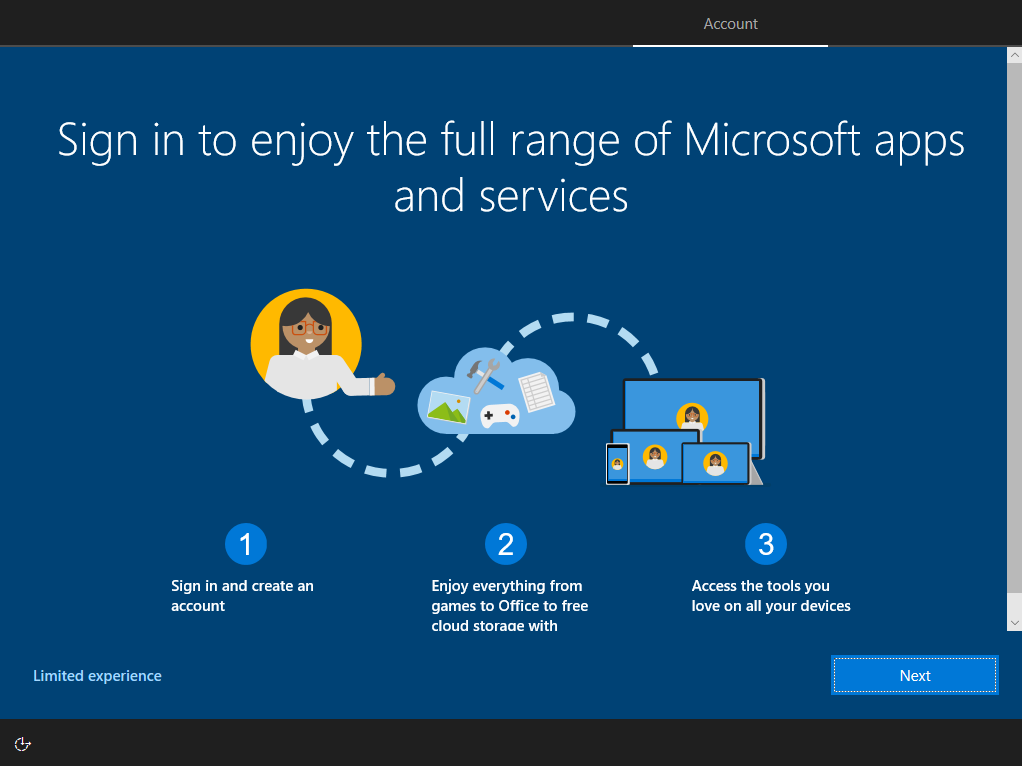
6. Click on Limited experience
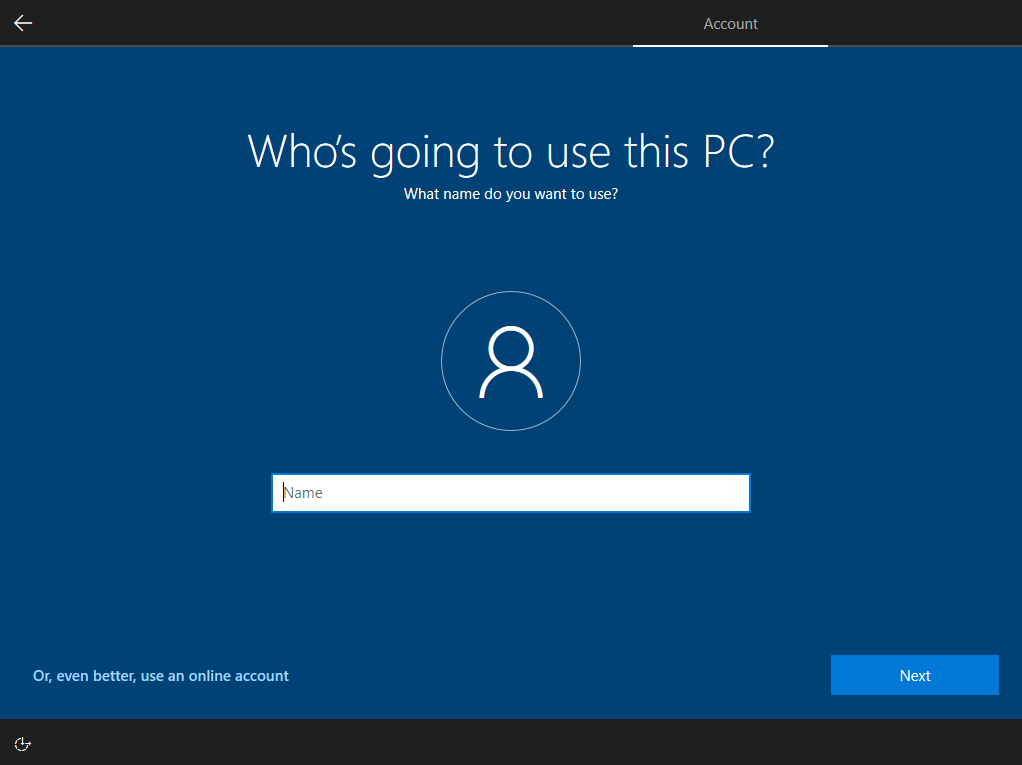
7. Enter your username
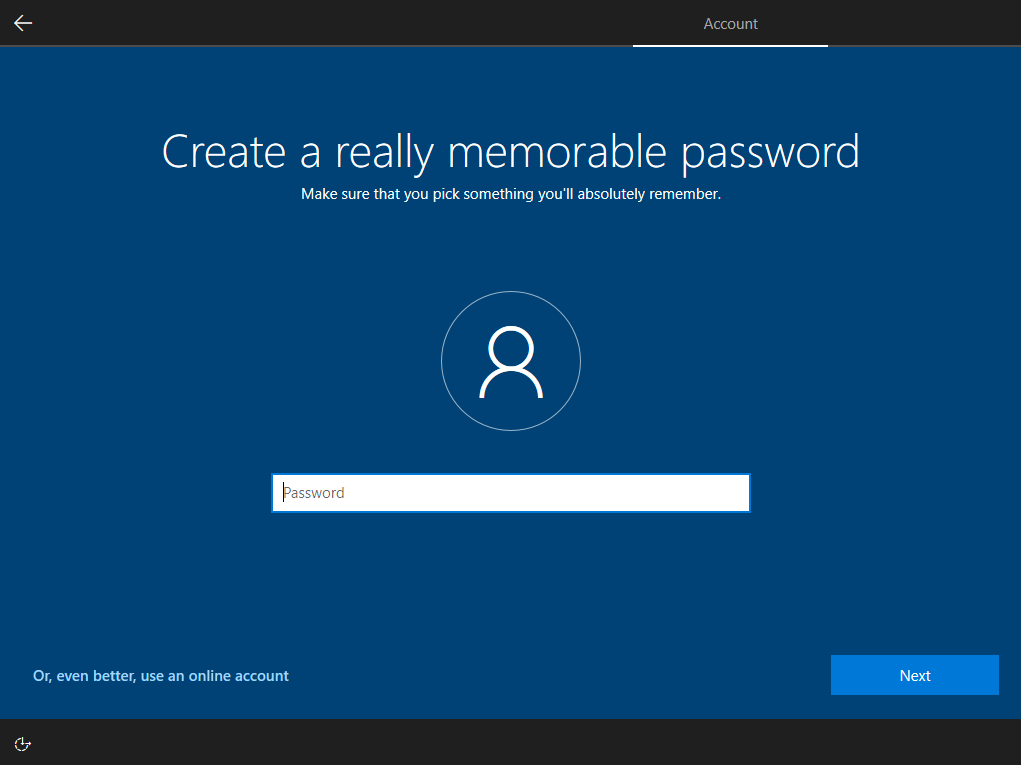
8. Enter your password and confirm it afterwards
It is recomended to have a password with atleast 12 characters. It should incloude upper and lowercase letters, numbers and symbols.
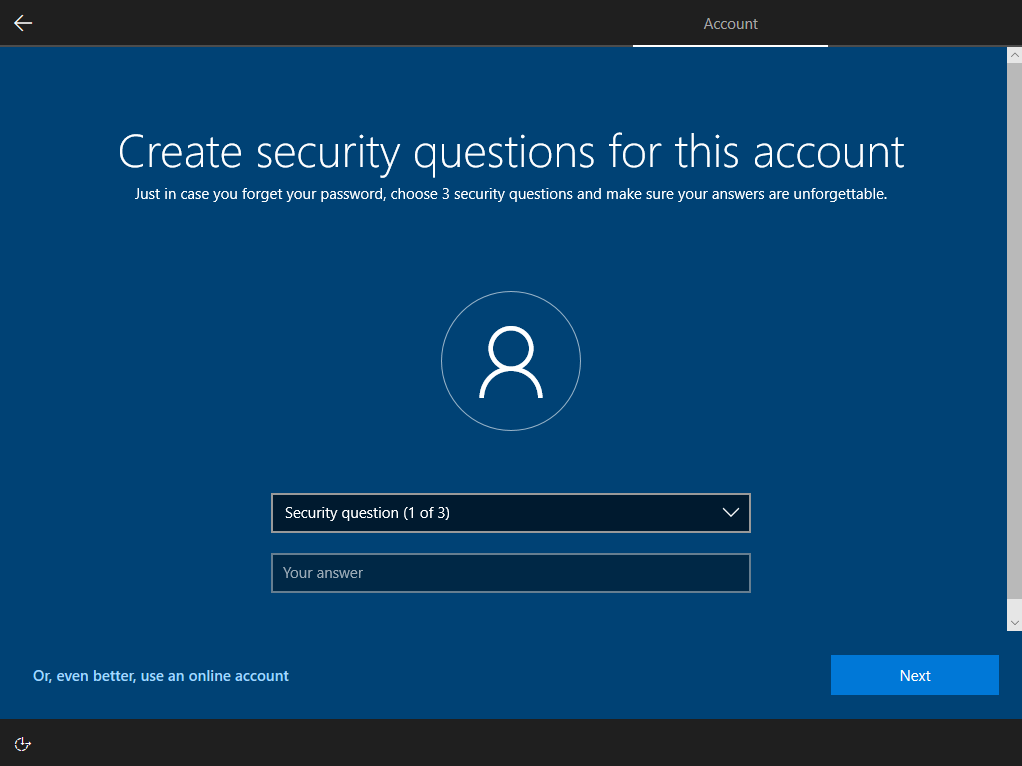
9. Enter your security questions
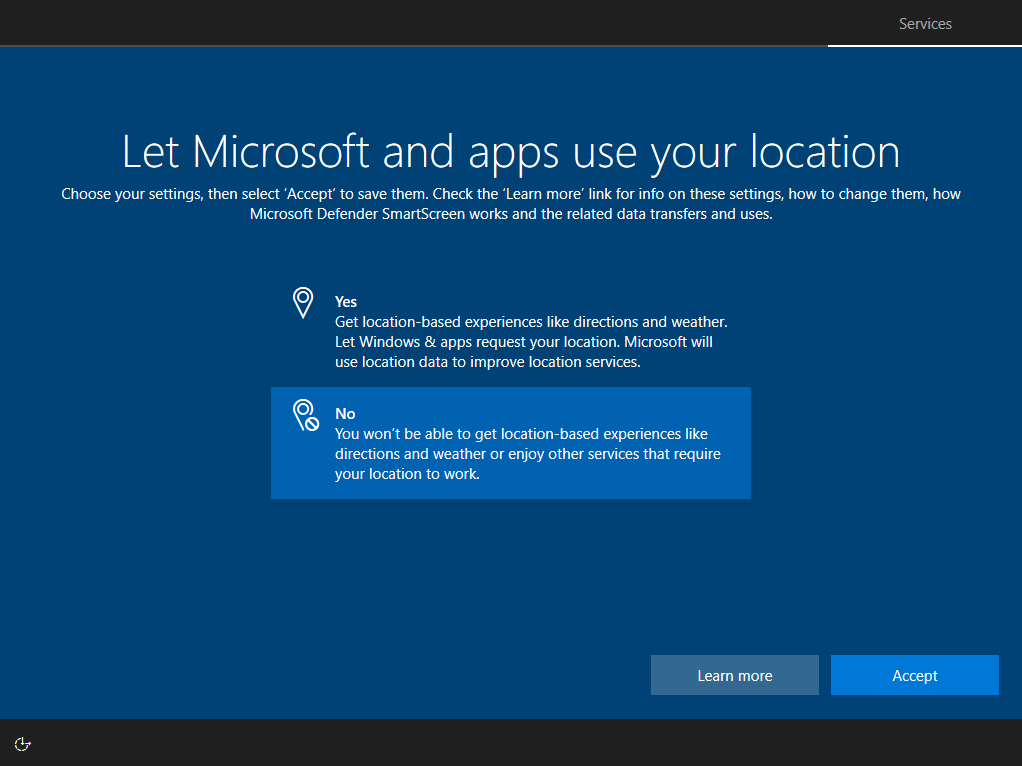
10. Always select the bottom option
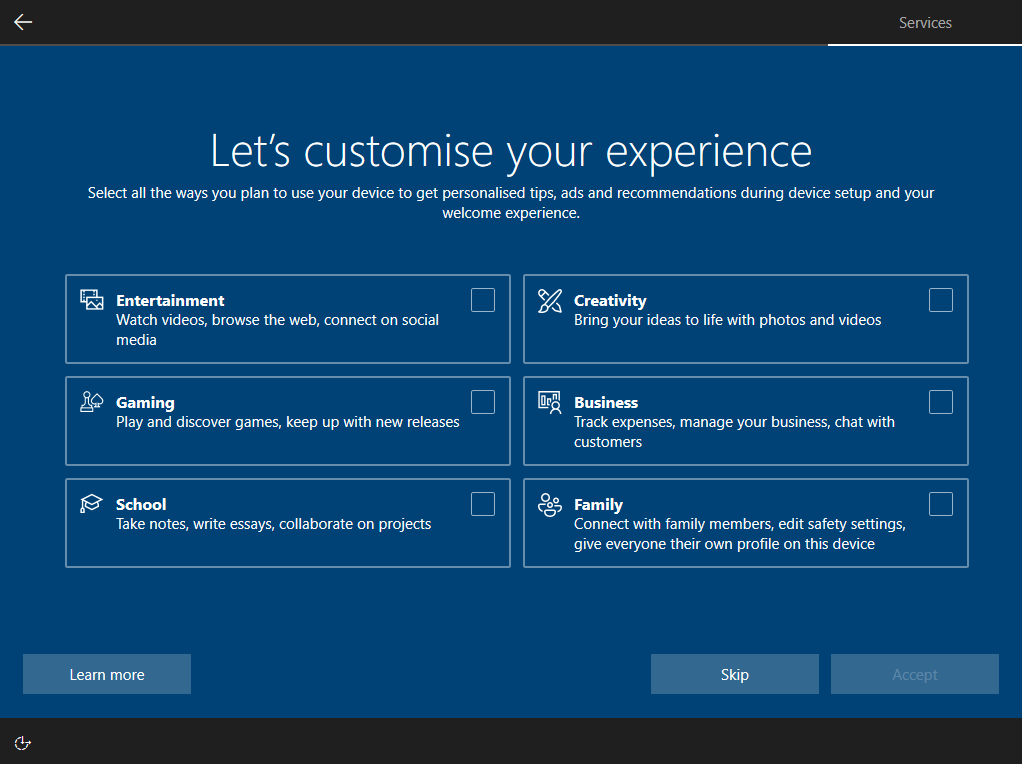
11. Press the Skip button
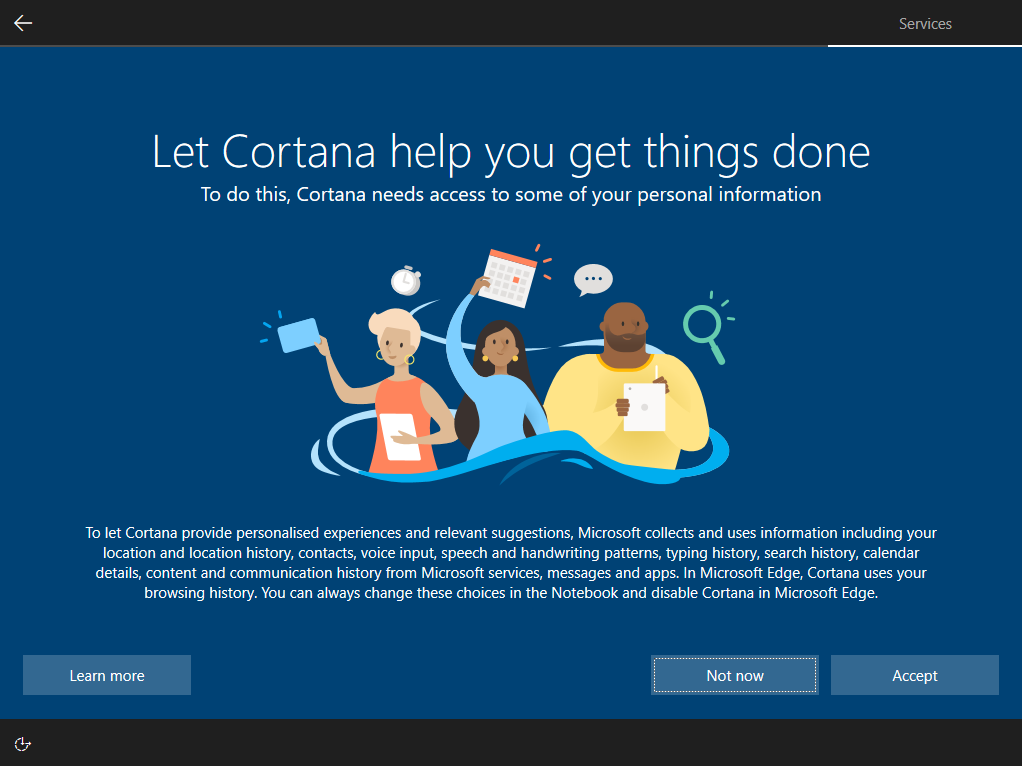
12. Select Not now
Installing drivers
Text coming soon!
Installing firmware
Text coming soon!
Removing junk
Run the following commands in powershell as an administrator, if you want to make these changes to your system.
Nav: Press the Windows key > type powershell > select Run as Administrator
Always aktivated num lock
1
2
Set-ItemProperty -Path 'HKCU:\Control Panel\Keyboard' -Name InitialKeyboardIndicators -Value '2'
Set-ItemProperty -Path 'Registry::\HKEY_USERS\.DEFAULT\Control Panel\Keyboard' -Name InitialKeyboardIndicators -Value '2147483650'
Deaktivation of Cortana
1
2
New-Item -Path 'HKLM:\SOFTWARE\Microsoft\PolicyManager\current\device\Experience' -Force | Out-Null
New-ItemProperty -Path 'HKLM:\SOFTWARE\Microsoft\PolicyManager\current\device\Experience' -Name AllowCortana -Value 0 -PropertyType DWORD -Force | Out-Null
Deaktivation of OneDrive
1
2
New-Item -Path 'HKLM:\SOFTWARE\Policies\Microsoft\Windows\OneDrive' -Force | Out-Null
New-ItemProperty -Path 'HKLM:\SOFTWARE\Policies\Microsoft\Windows\OneDrive' -Name DisableFileSyncNGSC -Value 1 -PropertyType DWORD -Force | Out-Null
Uninstall spam software
1
2
3
4
5
6
7
8
9
10
11
12
13
14
15
16
17
18
19
20
21
22
Get-AppXProvisionedPackage -Online | ? { $_.DisplayName -like '*Xbox*'} | Remove-AppxProvisionedPackage -Online
Get-AppXProvisionedPackage -Online | ? { $_.DisplayName -like '*Office*'} | Remove-AppxProvisionedPackage -Online
Get-AppxProvisionedPackage -Online | ? { $_.DisplayName -like "*windowscommunicationsapps*"} | Remove-AppxProvisionedPackage -Online
Get-AppXProvisionedPackage -Online | ? { $_.DisplayName -like '*Solitair*'} | Remove-AppxProvisionedPackage -Online
Get-AppXProvisionedPackage -Online | ? { $_.DisplayName -like '*Skypeapp*'} | Remove-AppxProvisionedPackage -Online
Get-AppXProvisionedPackage -Online | ? { $_.DisplayName -like 'Office'} | Remove-AppxProvisionedPackage -Online
Get-AppXProvisionedPackage -Online | ? { $_.DisplayName -like '*Note*'} | Remove-AppxProvisionedPackage -Online
Get-AppXProvisionedPackage -Online | ? { $_.DisplayName -like 'Tips'} | Remove-AppxProvisionedPackage -Online
Get-AppXProvisionedPackage -Online | ? { $_.DisplayName -like 'Spotify'} | Remove-AppxProvisionedPackage -Online
Get-AppXProvisionedPackage -Online | ? { $_.DisplayName -like '*Reality*'} | Remove-AppxProvisionedPackage -Online

Get-AppxPackage *Xbox* -AllUsers | Remove-AppxPackage
Get-AppxPackage *Office* -AllUsers | Remove-AppxPackage
Get-AppxPackage *Solitair* -AllUsers | Remove-AppxPackage
Get-AppxPackage *king.com* -AllUsers | Remove-AppxPackage
Get-AppxPackage *skypeapp* -AllUsers | Remove-AppxPackage
Get-AppxPackage *windowscommunicationsapps* -AllUsers | Remove-AppxPackage
Get-AppxPackage *Office* -AllUsers | Remove-AppxPackage
Get-AppxPackage *Note* -AllUsers | Remove-AppxPackage
Get-AppxPackage *Tips* -AllUsers | Remove-AppxPackage
Get-AppxPackage *Spotify* -AllUsers | Remove-AppxPackage
Get-AppxPackage *Reality* -AllUsers | Remove-AppxPackage
Setting defaults
To create the best and clean expierence to new users on the system we need to edit the default user layouts under C:\Users\Default\AppData\Local\Microsoft\Windows\Shell\DefaultLayouts.xml. Copy the following code into the file and after that save it
If you are the only user on the system you do not need to do this.
1
2
3
4
5
6
7
8
9
10
11
12
13
14
15
16
17
18
19
20
<?xml version="1.0" encoding="utf-8"?>
<LayoutModificationTemplate
    xmlns="http://schemas.microsoft.com/Start/2014/LayoutModification"
    xmlns:defaultlayout="http://schemas.microsoft.com/Start/2014/FullDefaultLayout"
    xmlns:start="http://schemas.microsoft.com/Start/2014/StartLayout"
    xmlns:taskbar="http://schemas.microsoft.com/Start/2014/TaskbarLayout"
    Version="1">
	<LayoutOptions StartTileGroupCellWidth="6" />
	<DefaultLayoutOverride>
		<StartLayoutCollection>
			<defaultlayout:StartLayout GroupCellWidth="6" />
		</StartLayoutCollection>
	</DefaultLayoutOverride>
	<CustomTaskbarLayoutCollection>
		<defaultlayout:TaskbarLayout>
			<taskbar:TaskbarPinList>
			</taskbar:TaskbarPinList>
		</defaultlayout:TaskbarLayout>
	</CustomTaskbarLayoutCollection>
</LayoutModificationTemplate>
Links
⚙️ If you see something that needs to be fixed, this documentation is open source! Feel free to open an issue here.
⭐ If you enjoied the post I would appreciate a star on GitHub